> ## Documentation Index
> Fetch the complete documentation index at: https://dripart-chore-sync-comfy-api-v2-spec-12fd5b4.mintlify.site/llms.txt
> Use this file to discover all available pages before exploring further.
# ComfyUI MoGe 使用示例
> 本指南演示如何在 ComfyUI 中使用 MoGe 进行单目几何估计:公尺度点云、深度图、法线图和网格生成。
# ComfyUI MoGe 介绍
[MoGe](https://github.com/microsoft/MoGe)(CVPR 2025,来自微软研究院)是一个强大的单目 3D 几何恢复模型,可以从开放领域的单张图像中恢复 3D 几何信息。它在一个前向推理中同时输出公尺度点云、公尺度深度图、法线图和相机 FOV。
核心能力:
* **精确的 3D 几何估计**:单张图像同时输出点云、深度图和法线图:一个模型,一次推理。
* **公尺度**(MoGe-2):点云和深度图使用真实世界尺度
* **灵活的分辨率支持**:支持多种分辨率和宽高比(2:1 到 1:2)
* **快速推理**:A100 / RTX 3090 上约 60ms/张(FP16,ViT-L)
* **从透视和全景图生成网格**
MoGe 提供两个版本:
| 文件 | 版本 | 公尺度 | 法线图 | 参数量 |
| ------------------------- | ---------- | :-: | :-: | :--: |
| `moge_1_vitl_fp16` | **MoGe-1** | - | - | 314M |
| `moge_2_vitl_normal_fp16` | **MoGe-2** | ✅ | ✅ | 331M |
> MoGe-2 新增了公尺度支持和高质量法线图估计,视觉细节更清晰,推理延迟更低。**推荐使用 MoGe-2 with normal(`moge_2_vitl_normal_fp16`)。**
请确保你的 ComfyUI 已经更新。
* [ComfyUI 下载](https://www.comfy.org/download)
* [ComfyUI 更新教程](/zh/installation/update_comfyui)
本指南里的工作流可以在[工作流模板](/zh/interface/features/template)中找到。如果找不到,可能是 ComfyUI 没有更新。
如果加载工作流时有节点缺失,可能原因有:
1. 你用的不是最新版(每夜版)。
2. 启动时有些节点导入失败。
* [Cloud](https://cloud.comfy.org) 会在 ComfyUI 稳定版本发布后更新。
所以,如果你发现本文档中有任何核心节点缺失,可能是因为新核心节点尚未在最新稳定版中发布。请等待下一个稳定版发布。
ComfyUI 现已原生支持 MoGe 节点。开始前请确保已更新到最新版本的 [ComfyUI](https://github.com/Comfy-Org/ComfyUI)。
生成的 `.glb` 模型将输出到 `ComfyUI/output/mesh` 文件夹。
## 模型安装
下载 MoGe 检查点并保存到相应的 ComfyUI 文件夹:
* **MoGe-2(推荐)**:[moge\_2\_vitl\_normal\_fp16.safetensors](https://huggingface.co/Comfy-Org/MoGe/blob/main/moge_2_vitl_normal_fp16.safetensors)
* **MoGe-1(基线版本)**:[moge\_1\_vitl\_fp16.safetensors](https://huggingface.co/Comfy-Org/MoGe/blob/main/moge_1_vitl_fp16.safetensors)
```
ComfyUI/
├── models/
│ ├── geometry_estimation/
│ │ ├── moge_2_vitl_normal_fp16.safetensors
│ │ └── moge_1_vitl_fp16.safetensors
```
## 工作流示例
MoGe:深度估计
上传一张 RGB 图像,生成彩色深度预览和原始深度图。
 在 Comfy Cloud 中打开
下载 JSON,或在模板库中搜索“MoGe:深度估计”
**输入素材**
将该文件上传到对应的 `LoadImage` 节点:
`LoadImage` 节点 9 · `alien_world.png`
### 1.1 运行步骤
1. 确保 `LoadMoGeModel` 节点已加载 MoGe 模型
2. 在 `Load Image` 节点中加载图像
3. 点击 `Queue` 或使用 `Ctrl(cmd) + Enter` 运行
4. 工作流输出彩色深度预览、原始深度预览和遮罩
在 Comfy Cloud 中打开
下载 JSON,或在模板库中搜索“MoGe:深度估计”
**输入素材**
将该文件上传到对应的 `LoadImage` 节点:
`LoadImage` 节点 9 · `alien_world.png`
### 1.1 运行步骤
1. 确保 `LoadMoGeModel` 节点已加载 MoGe 模型
2. 在 `Load Image` 节点中加载图像
3. 点击 `Queue` 或使用 `Ctrl(cmd) + Enter` 运行
4. 工作流输出彩色深度预览、原始深度预览和遮罩
MoGe:透视几何估算

上传图像以估算其透视几何。从输入中生成 3D 深度图和表面法线,然后转换为带纹理的 GLB 网格。
 在 Comfy Cloud 中打开
下载 JSON,或在模板库中搜索“MoGe:透视几何估算”
**输入素材**
将该文件上传到对应的 `LoadImage` 节点:
`LoadImage` 节点 9 · `modern_living_room.png`
这是**单目几何估算**:被遮挡区域和物体背面将缺失或碎片化。适用于快速场景原型、参考几何,或可视化深度和法线为网格,但不能替代多视图 3D 重建。
### 2.1 运行步骤
1. 确保 `LoadMoGeModel` 节点已加载 MoGe 模型
2. 在 `Load Image` 节点中加载透视照片
3. (可选)查看 OpenGL 和 DirectX 法线预览
4. 点击 `Queue` 或使用 `Ctrl(cmd) + Enter` 运行
在 Comfy Cloud 中打开
下载 JSON,或在模板库中搜索“MoGe:透视几何估算”
**输入素材**
将该文件上传到对应的 `LoadImage` 节点:
`LoadImage` 节点 9 · `modern_living_room.png`
这是**单目几何估算**:被遮挡区域和物体背面将缺失或碎片化。适用于快速场景原型、参考几何,或可视化深度和法线为网格,但不能替代多视图 3D 重建。
### 2.1 运行步骤
1. 确保 `LoadMoGeModel` 节点已加载 MoGe 模型
2. 在 `Load Image` 节点中加载透视照片
3. (可选)查看 OpenGL 和 DirectX 法线预览
4. 点击 `Queue` 或使用 `Ctrl(cmd) + Enter` 运行
MoGe:全景转网格
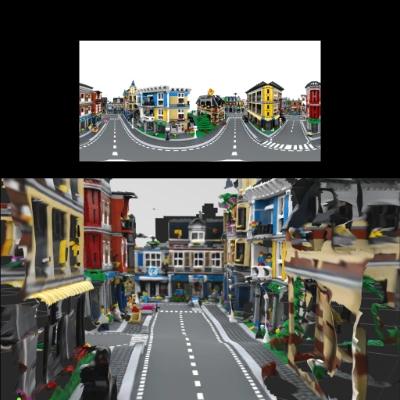
上传一张等距柱状 360° 全景图像,生成带有顶点颜色的纹理化 GLB 网格。
 在 Comfy Cloud 中打开
下载 JSON,或在模板库中搜索“MoGe:全景转网格”
**输入素材**
将该文件上传到对应的 `LoadImage` 节点:
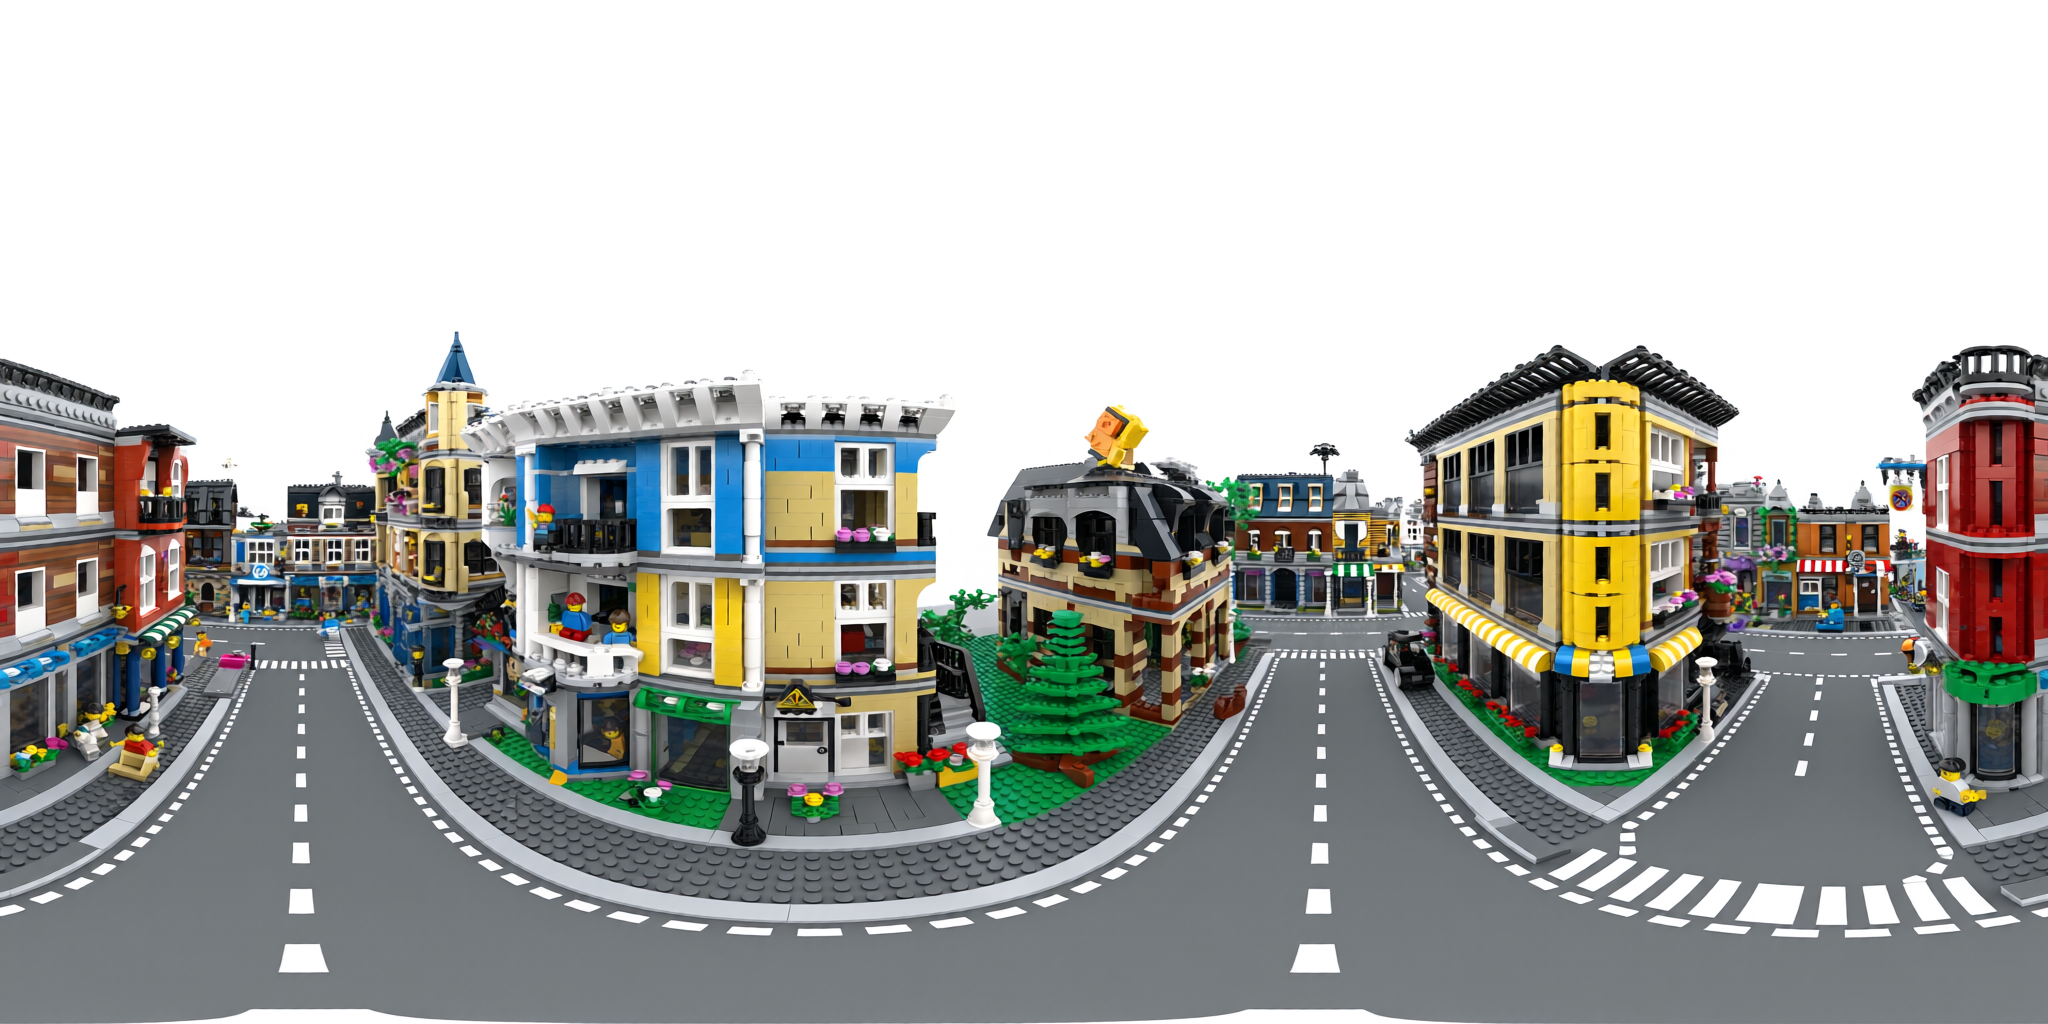
`LoadImage` 节点 28 · `lego_street_panorama.png`
该工作流使用 `MoGePanoramaInference` 将全景图分割为 12 个透视视图,对每个视图独立运行单目几何估算,然后将它们合并为一个网格。
### 3.1 运行步骤
1. 确保 `LoadMoGeModel` 节点已加载其中一个 MoGe 模型
2. 在 `Load Image` 节点中加载等距柱状全景图像
3. 点击 `Queue` 或使用 `Ctrl(cmd) + Enter` 运行
***
## 社区资源
* [MoGe GitHub (microsoft/MoGe)](https://github.com/microsoft/MoGe): 研究论文和代码
* [Comfy-Org/MoGe](https://huggingface.co/Comfy-Org/MoGe): 官方 ComfyUI 模型权重
在 Comfy Cloud 中打开
下载 JSON,或在模板库中搜索“MoGe:全景转网格”
**输入素材**
将该文件上传到对应的 `LoadImage` 节点:
`LoadImage` 节点 28 · `lego_street_panorama.png`
该工作流使用 `MoGePanoramaInference` 将全景图分割为 12 个透视视图,对每个视图独立运行单目几何估算,然后将它们合并为一个网格。
### 3.1 运行步骤
1. 确保 `LoadMoGeModel` 节点已加载其中一个 MoGe 模型
2. 在 `Load Image` 节点中加载等距柱状全景图像
3. 点击 `Queue` 或使用 `Ctrl(cmd) + Enter` 运行
***
## 社区资源
* [MoGe GitHub (microsoft/MoGe)](https://github.com/microsoft/MoGe): 研究论文和代码
* [Comfy-Org/MoGe](https://huggingface.co/Comfy-Org/MoGe): 官方 ComfyUI 模型权重